How to hide screenshots on iPhone and Android
Keep private screenshots out of your everyday gallery. Find them on iPhone or Android, add them to Hidewell, and organize them with albums and tags.
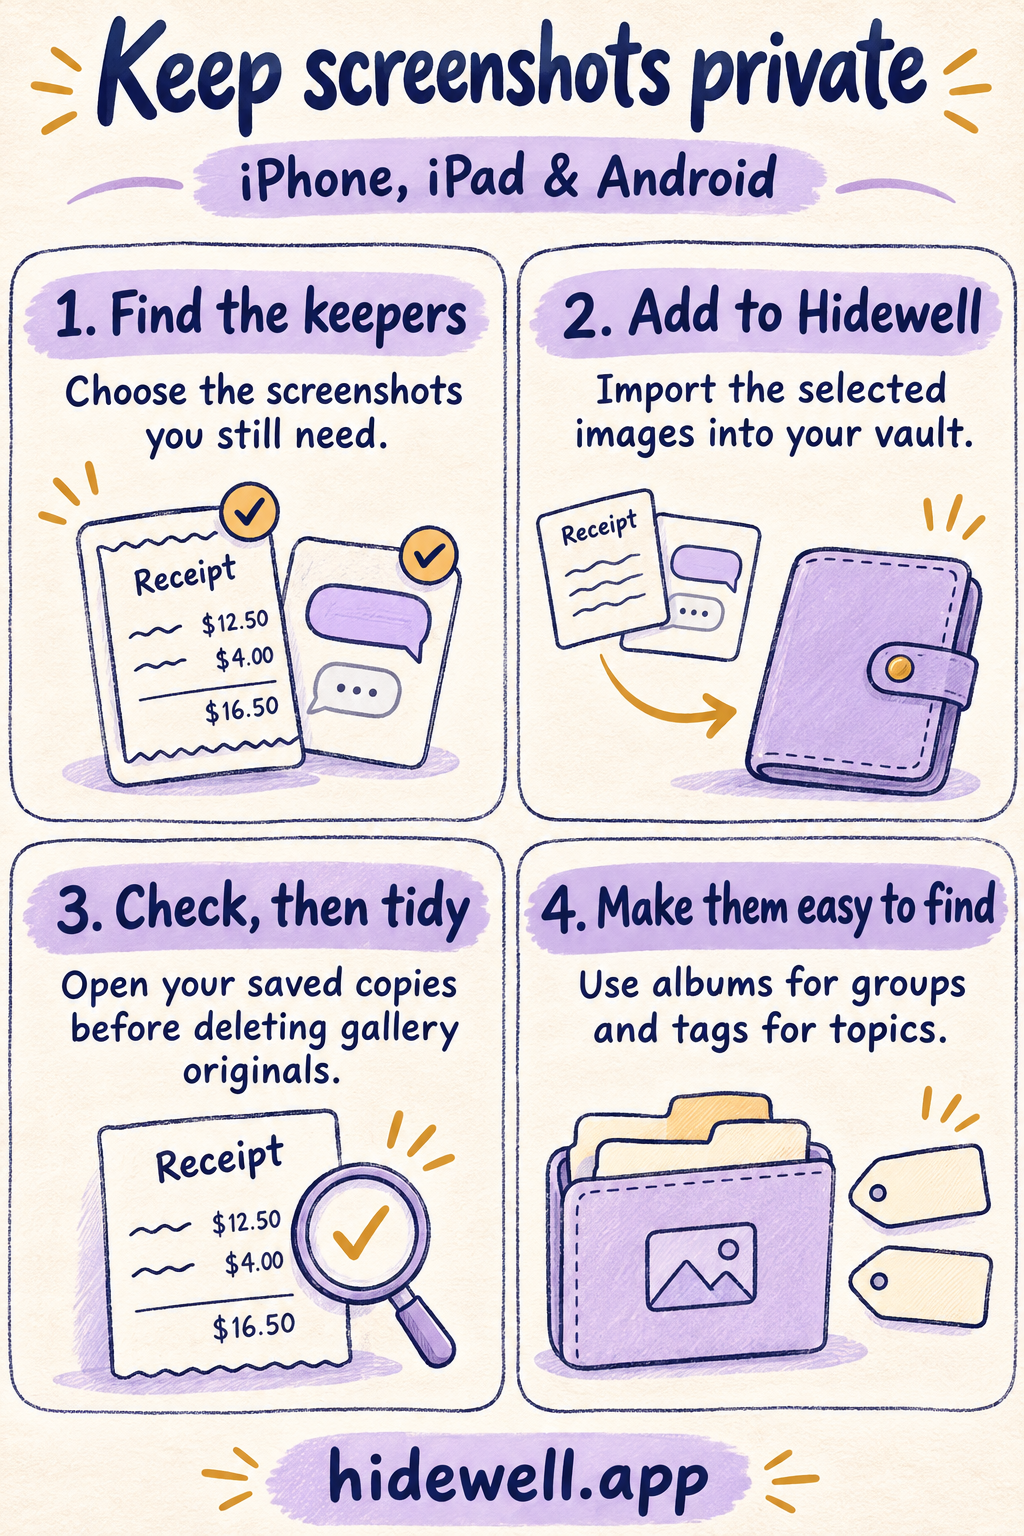
To hide screenshots, find the images you want to keep, import them into Hidewell, then remove the originals from your everyday photo gallery once you have checked the saved copies. Hidewell keeps your private collection in an encrypted vault on iPhone, iPad and Android, opened with your pattern.
Screenshots need a little more organization than holiday photos. A receipt, a personal conversation and a booking confirmation can look almost identical as small thumbnails. A few named albums and tags make those saved details easier to find when you need them.
Find the screenshots you want to keep
Start with the screenshots collection instead of scrolling through your entire photo library:
- iPhone and iPad: open Photos → Collections → Media Types → Screenshots. Apple documents this location for iPhone and iPad.
- Android with Google Photos: open Collections → On this device → Screenshots. If you use your phone’s Gallery app, look for a Screenshots album. See Google’s screenshot instructions.
Choose a manageable batch: receipts you still need, a conversation you want to keep, or reference images for one project. Check the dates and surrounding images so you can recognize the same batch in Hidewell’s photo picker.
If you only want to use your phone’s built-in hiding tools, the guides for iPhone and Android cover those options. The steps below create a separate collection in Hidewell.
Add the selected screenshots to Hidewell
- Open your Hidewell vault. Draw your pattern to unlock it.
- Open the photo picker. On iPhone or iPad, tap the + button, then Photos. On Android, tap Add → Photos and videos. Continue through the short introduction if it appears.
- Choose your screenshots and confirm the selection. Wait for the import to finish. If you are asked about deleting originals, choose Keep Originals on iPhone or Keep originals on Android so you can check the copies first.
- Open the screenshots inside Hidewell. Make sure you can read the details you saved them for: the full conversation, receipt number or booking reference.
- Remove the gallery originals when you are ready. Return to Photos or your Android gallery and delete that selected batch. Importing alone does not remove those originals.
This works well as a small cleanup session: one set of screenshots in, one check that they are readable, then the matching gallery copies out.
Give private screenshots useful album names
Pick names that tell you what you will be looking for later. Receipts, Personal conversations and Home project are more helpful than Screenshots 2.
On iPhone or iPad: open Sort & Filter → Manage Albums & Tags. Enter a name in New album, tap Add, then Done. Back in the vault, tap Select, choose the screenshots, then open Albums & Tags. Choose the album and tap Save.
On Android: tap the sliders button beside the filter chips, labeled Manage albums and tags. Tap Add next to Albums, enter the name and tap Save. Return to the gallery, long-press a screenshot, then tap the others you want to group. Tap the tag icon, Albums and tags, choose the album and tap Save.
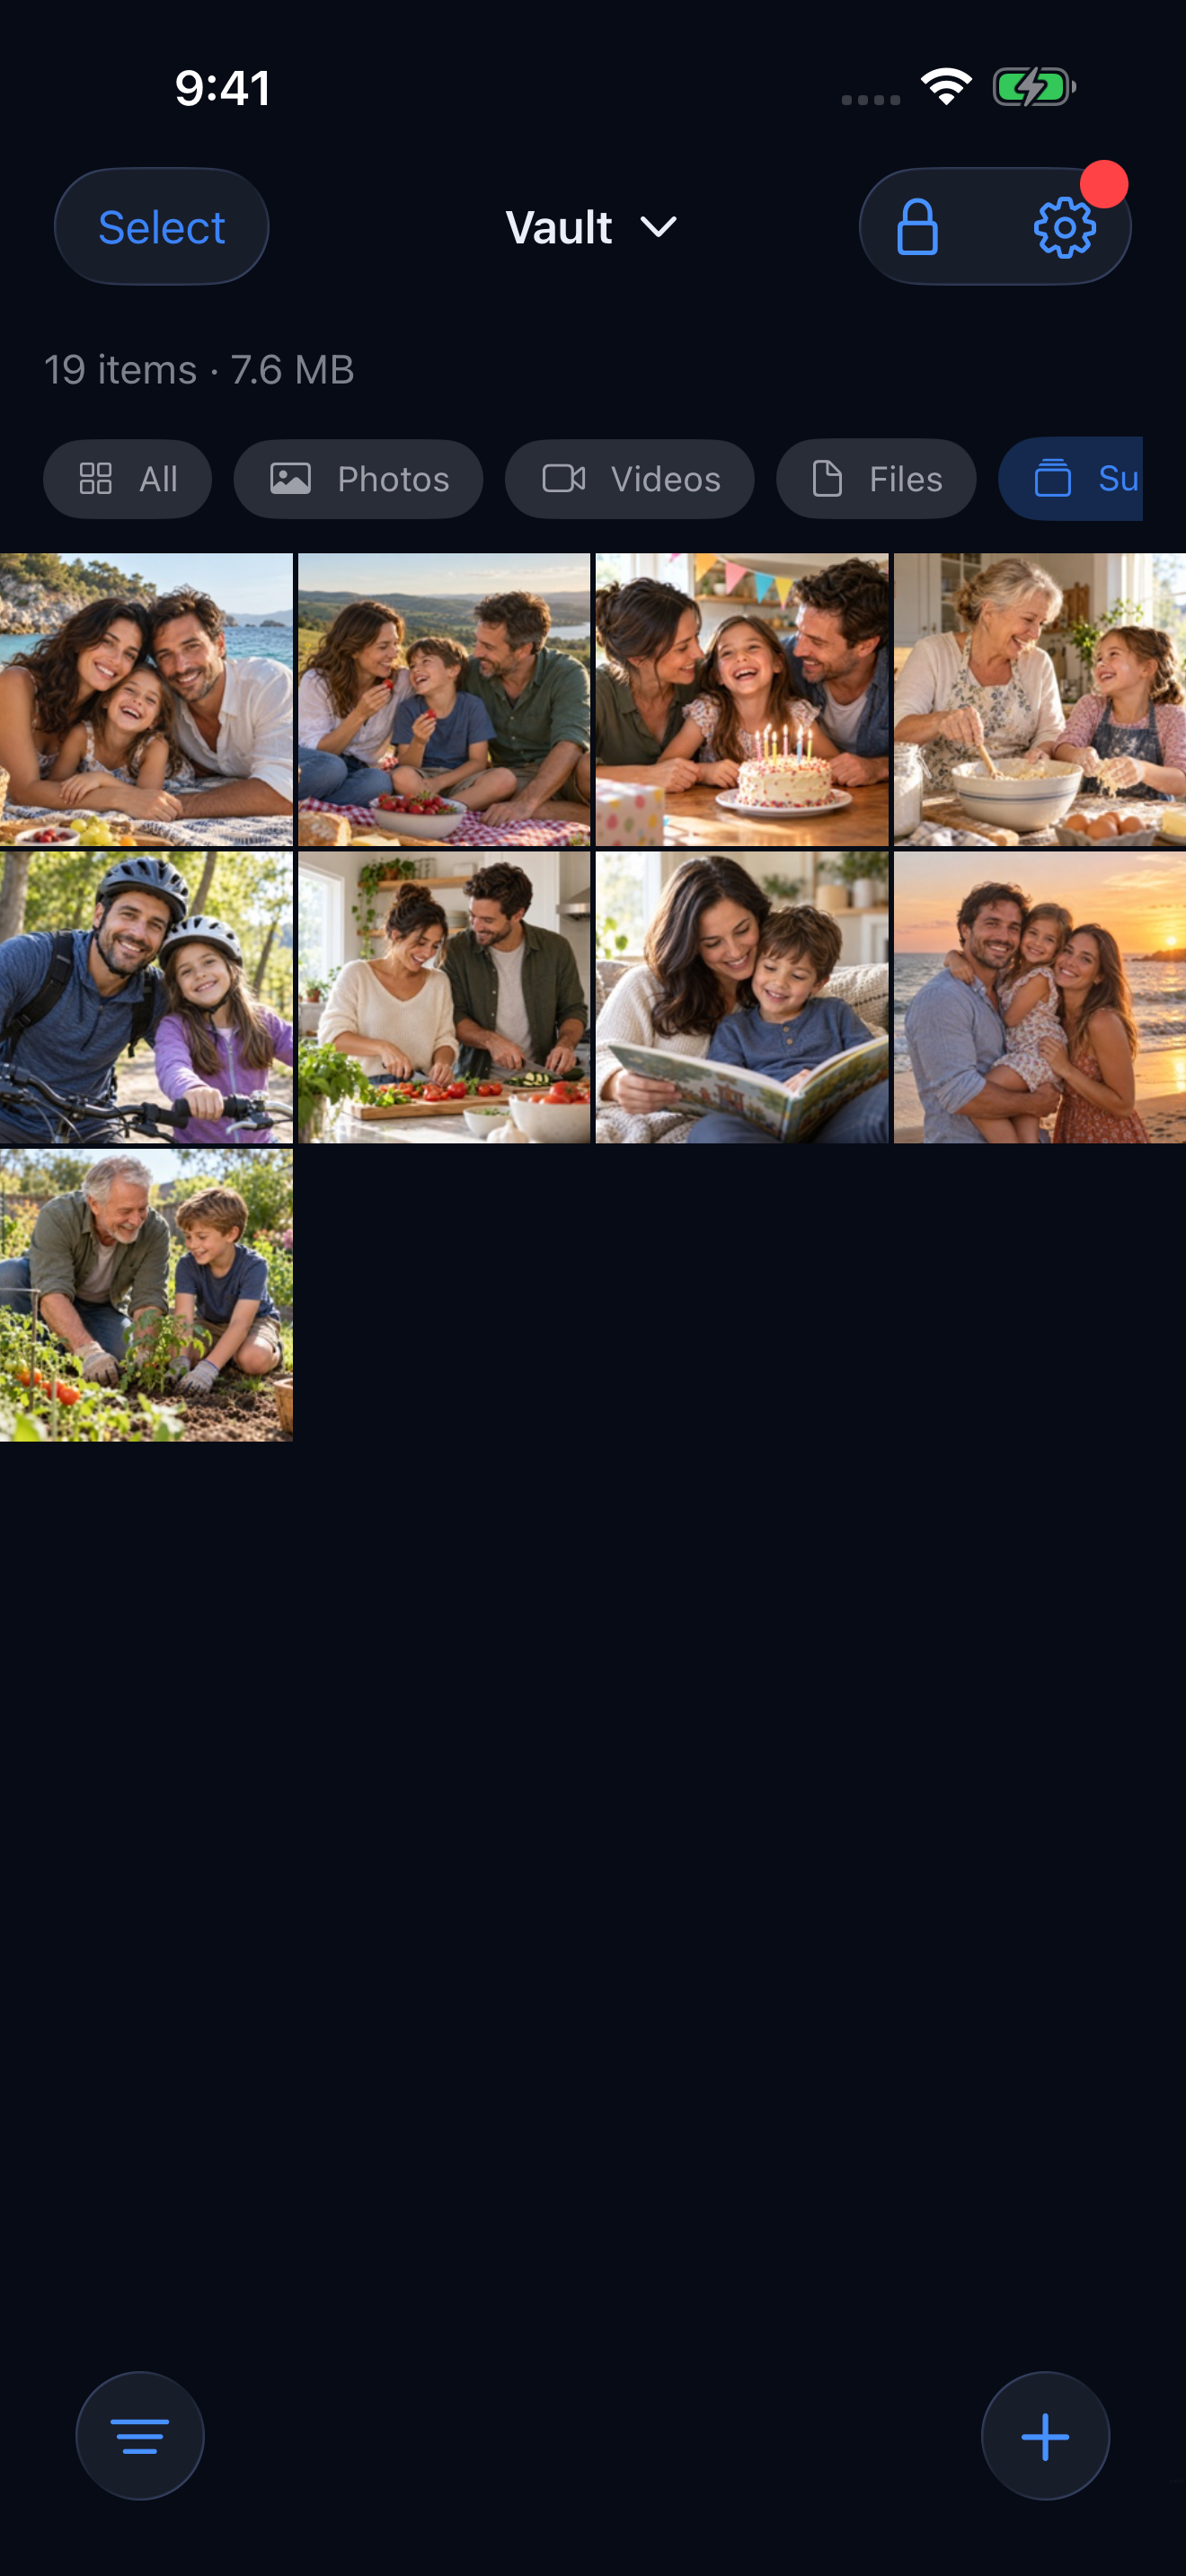
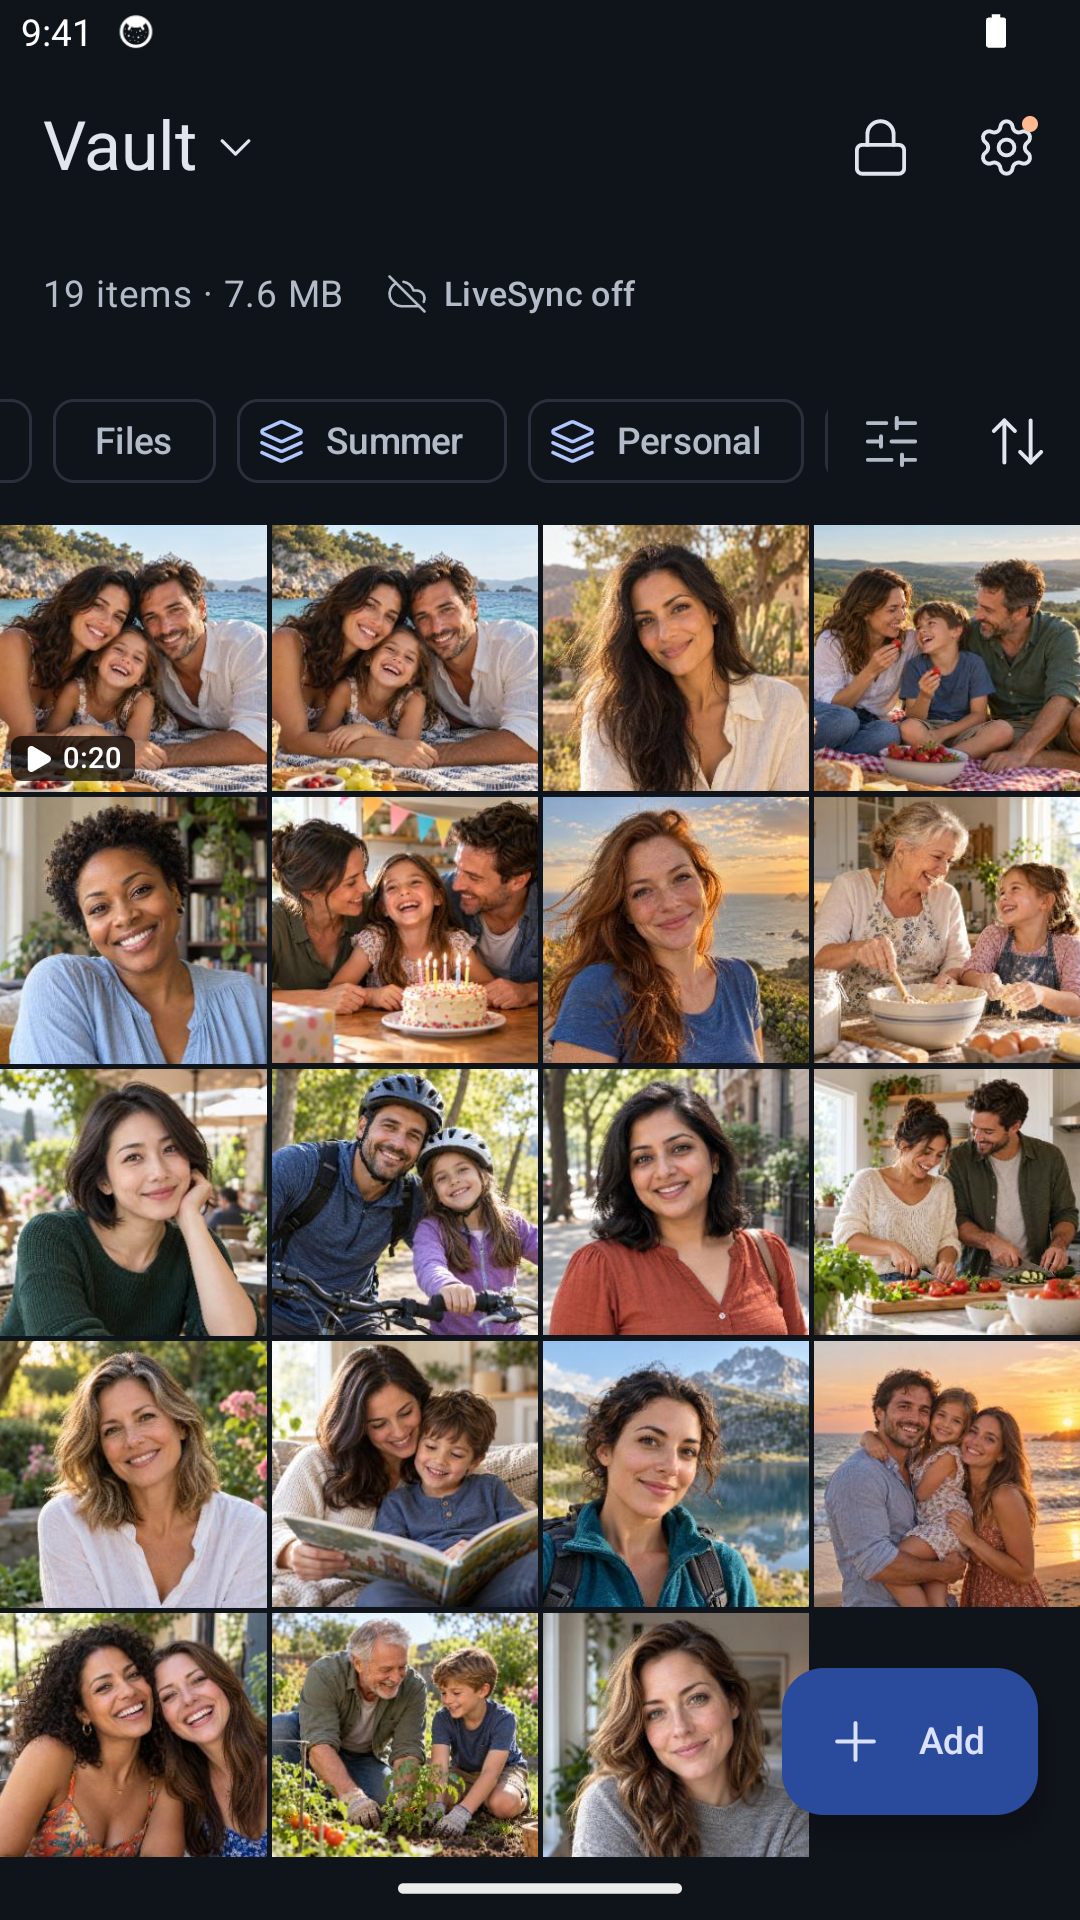
Use tags for details that cross several albums: a year, a person or a project. For example, receipts from different purchases could share a Warranty tag. Both apps let you add a tag while assigning labels to selected items.
When you need a screenshot again, choose its album or tag from the vault’s filter controls. The albums and tags guide covers more ways to organize a growing collection.
Keep the next batch simple
After saving new screenshots, decide which ones are worth keeping privately. Add those to Hidewell, check them, then put them in an album while you still remember why you saved them. Tap Lock when you finish.
Download Hidewell for iPhone and iPad or Android.
Save the quick-reference card
Keep this short checklist for your next screenshot cleanup.