Keep passport copies and ID scans private on your phone
Keep passport copies and ID scans private on iPhone, iPad and Android. Capture a clear photo in Hidewell, import a PDF and find your documents easily.
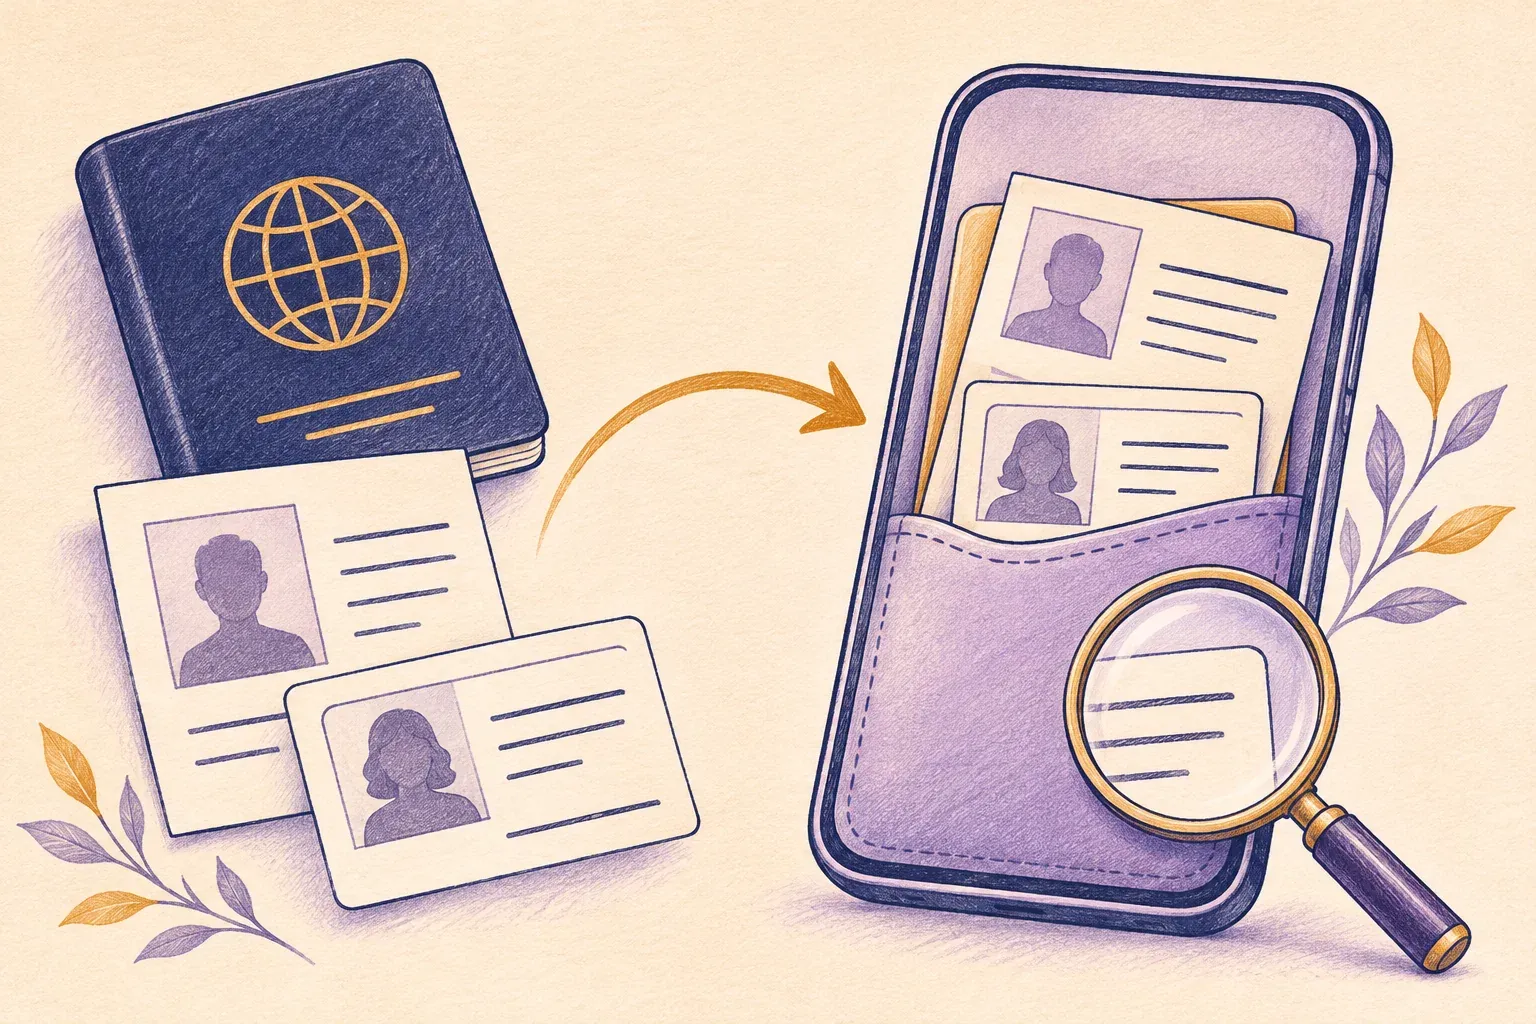
You can keep a passport copy or ID scan in Hidewell on iPhone, iPad and Android, separate from your everyday photo library. Photograph the document with Hidewell’s camera, or import a picture or PDF you already have. The saved copy goes into your encrypted vault.
This is useful when you want to look up a document number or check a detail without scrolling through holiday pictures. Start with a clear copy, check that you can read it, and keep related pages together so they are easy to find.
Get Hidewell for iPhone and iPad or Android.
Choose a photo or a PDF
| What you have | How to add it |
|---|---|
| A physical passport or ID card | Use Camera inside Hidewell to take a photo directly into the vault. |
| A picture already in your photo library | Import it with Photos on iPhone or iPad, or Photos and videos on Android. |
| An existing PDF scan | Choose Files in Hidewell and select the PDF. |
A clear photo is usually the simplest choice for a single ID card or passport details page. If you already have a scan with several pages in one PDF, you can keep that file together.
Photograph the document directly into Hidewell
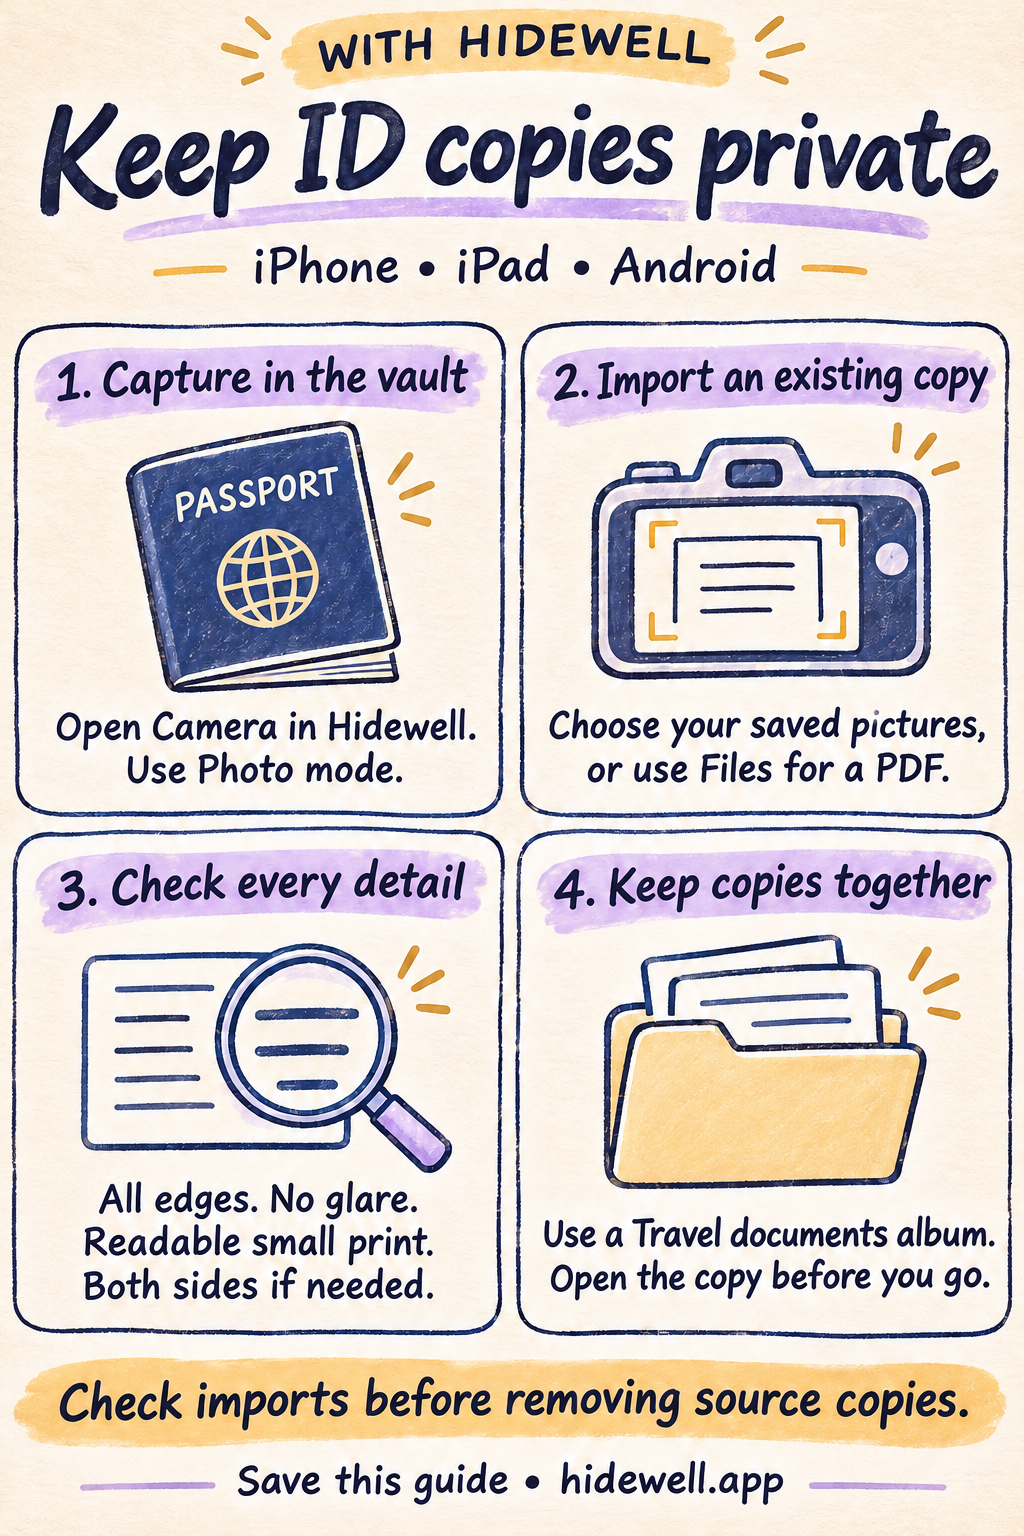
Open your vault, then choose + → Camera on iPhone or iPad, or Add → Camera on Android. Allow camera access when prompted and select Photo mode.
- Lay the document flat in good light. Move away from reflections on glossy cards or passport pages.
- Keep every edge in the frame. Hold the phone parallel to the page so the text is not squeezed into a slant.
- Take the photo and wait for it to save. Capture the back of an ID card too if it contains details you need.
- Return to the vault and open the saved picture. Zoom in to check the name, dates, document number and smallest print. Retake it if anything is blurred or hidden by glare.
Hidewell’s camera saves the photo directly into the encrypted vault without adding a copy to your usual photo library. The direct-capture guide explains this workflow in more detail.
Import an existing photo or PDF
Use the option that matches where the copy is stored:
| Device | Photo-library copy | Existing PDF or other saved file |
|---|---|---|
| iPhone or iPad | + → Photos | + → Files |
| Android | Add → Photos and videos | Add → Files |
Continue through the photo-picker introduction if it appears. Select your copies, confirm the selection and wait for the import to finish.
Open each imported item in Hidewell before removing its source copy. Check the complete image or every PDF page, not just the thumbnail. If a PDF does not preview on your phone, keep clear photo copies of the pages you need for quick reference.
Importing creates a vault copy; it does not automatically remove the original from Photos, Files, email or wherever you received it. Once you have checked the import, remove any everyday copies you no longer want there.
Keep related copies together
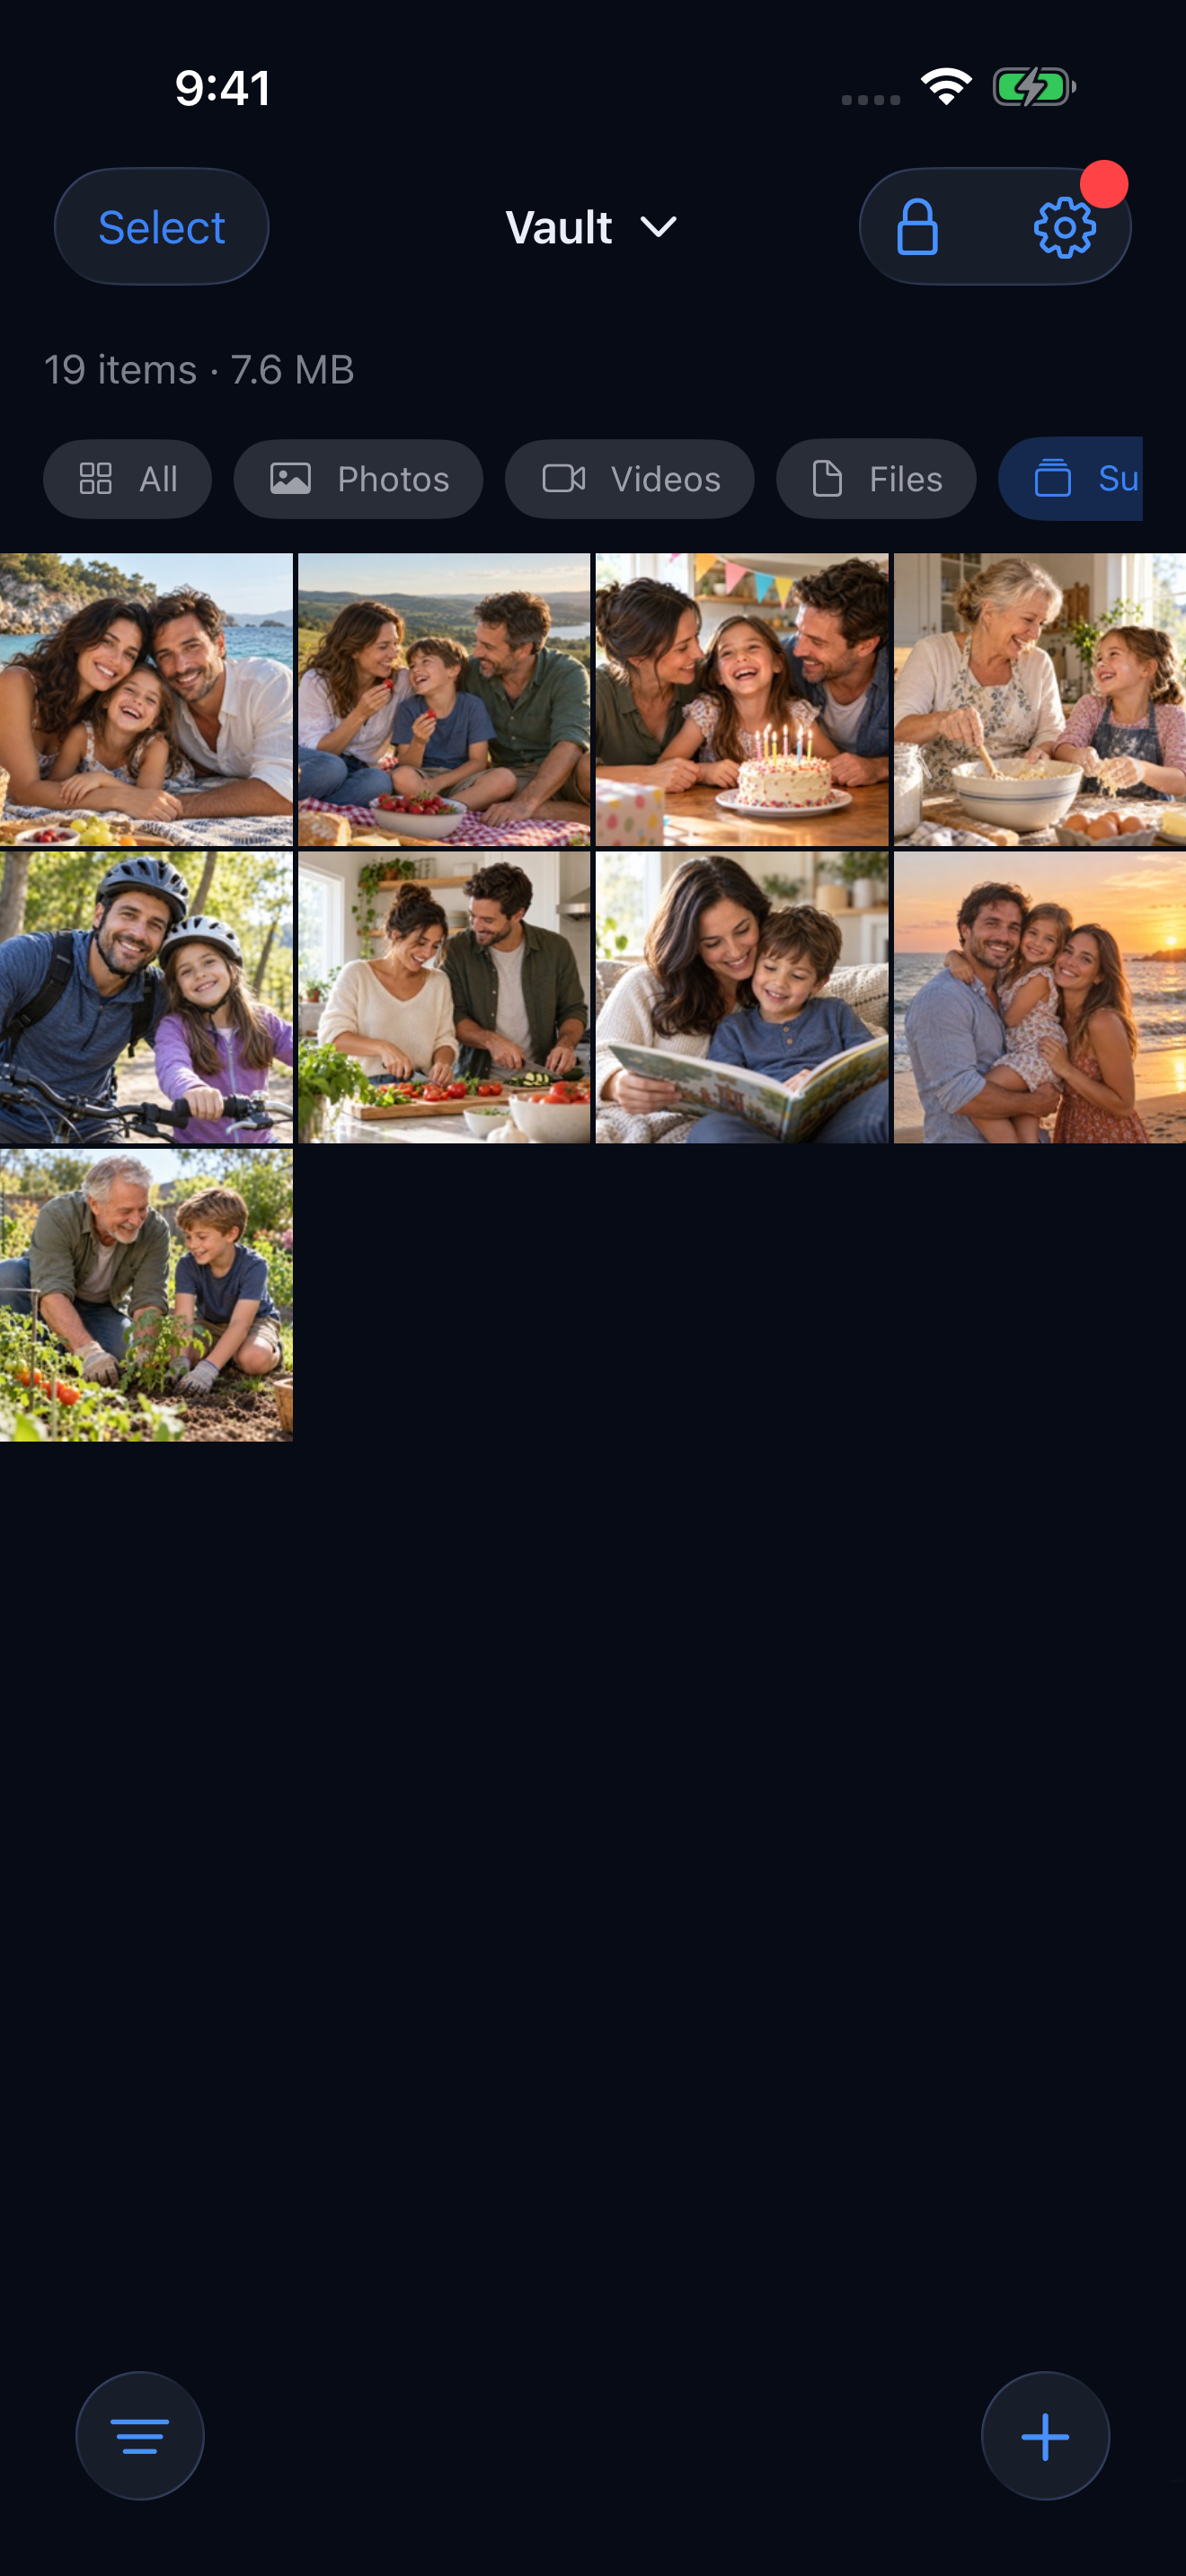
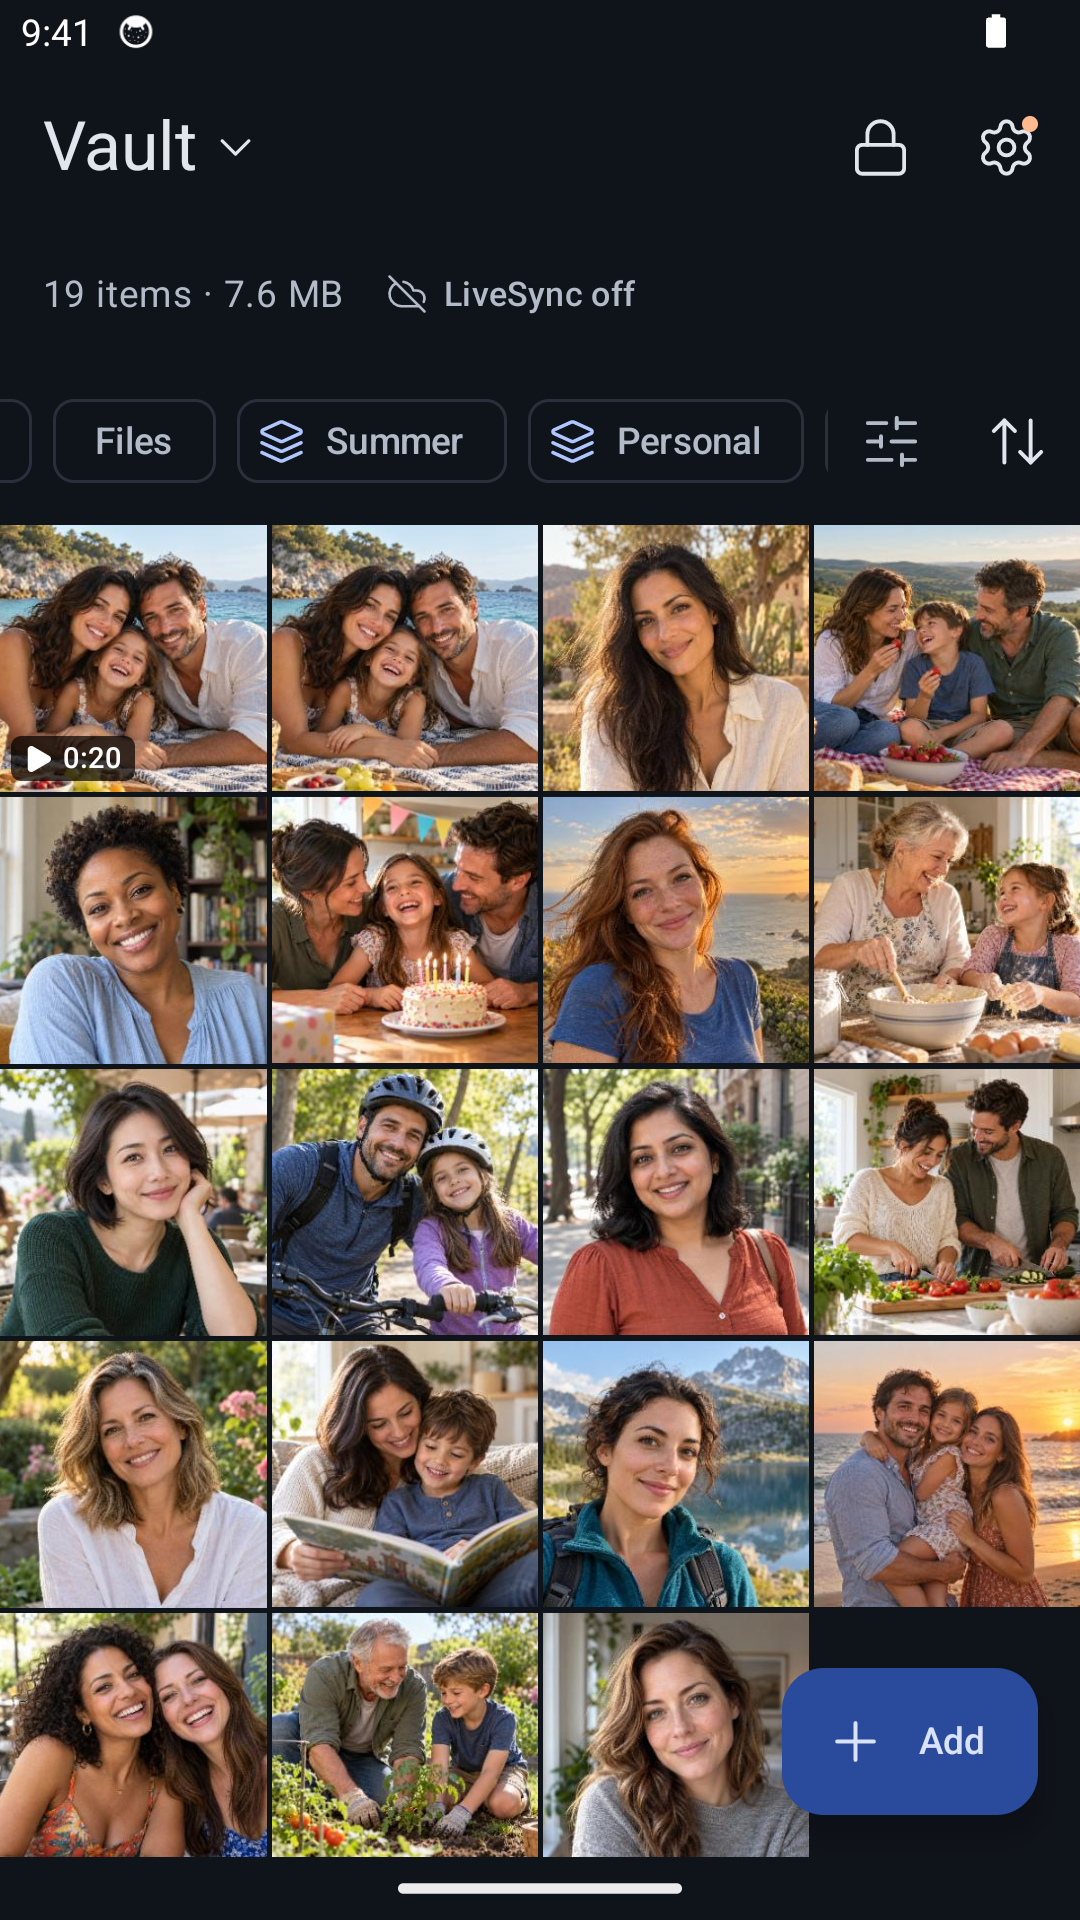
Create a Travel documents album and add your passport copy, ID images and other relevant pages to it. Give individual files recognizable names, such as Passport — details page or ID — back, instead of leaving several similar camera filenames.
Hidewell supports albums and file renaming on both platforms. The albums and tags guide shows the controls for creating an album and assigning items.
Open the copy before you need it
Before you leave, open your document album and check that every required page is there. Try it with Wi-Fi and mobile data off: files already saved in Hidewell are available offline. Keep your physical documents as well; these copies are for reference.
For a separate backup of the vault, follow the encrypted backup guide.
Save the quick-reference card
Save this checklist for the next time you prepare a passport or ID copy.